
 Skip to content
 Home » How to Use a Coffee Urn: A Complete Guide by Tlapazola Event Rentals


Federico from Tlapazola Event Rentals is back with another informative tutorial, this time demonstrating how to use their 60-cup capacity coffee urn. This essential piece of equipment is perfect for events, gatherings, and large-scale coffee service, offering convenience, efficiency, and a sleek stainless-steel design.
In this comprehensive guide, we will cover:
A coffee urn is a large-capacity brewing system designed to make and serve coffee for multiple people at once. Unlike standard coffee makers, urns are built for high-volume serving, making them ideal for events, offices, catering, and hospitality settings.

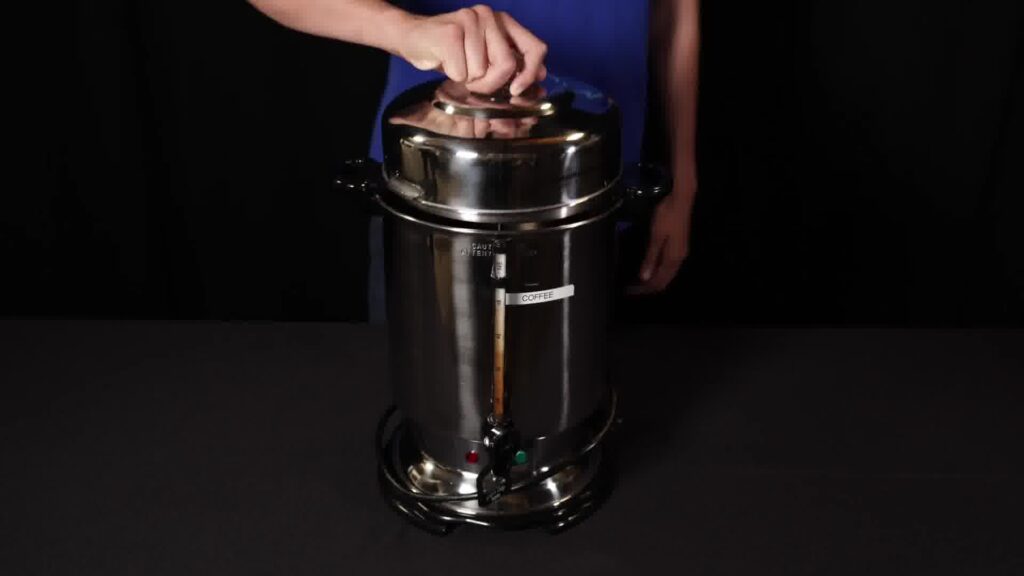
The first step is to press down on the lid, twist, and remove it. This exposes the inner components for setup.

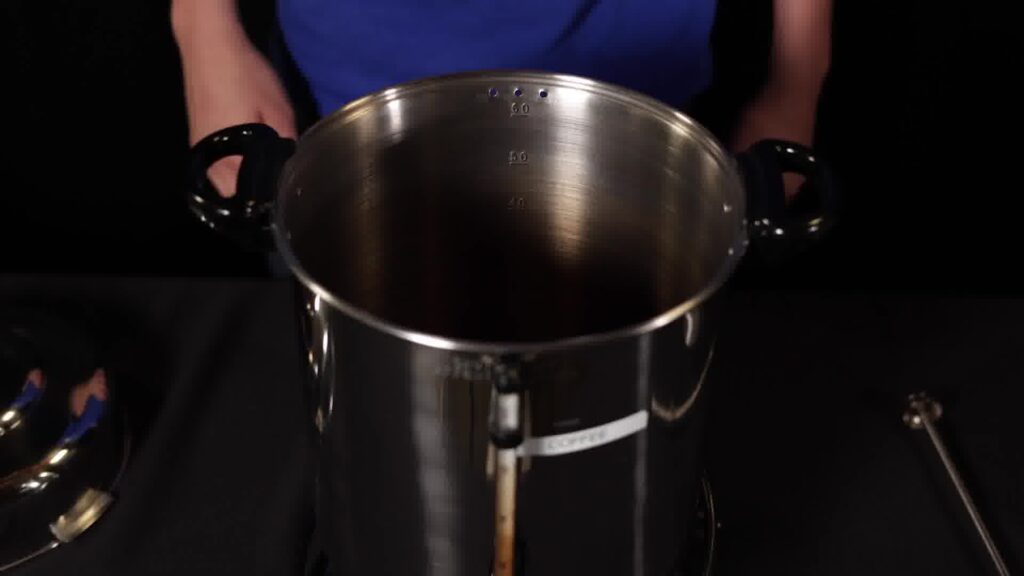
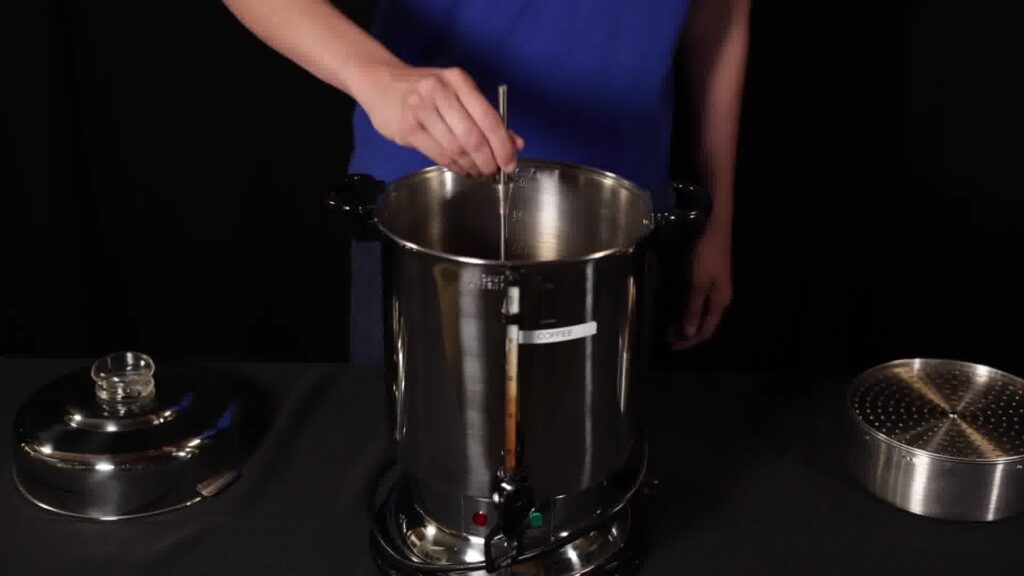
After filling the basin, place the tube pump back into the water. This component circulates hot water through the coffee grounds during brewing.
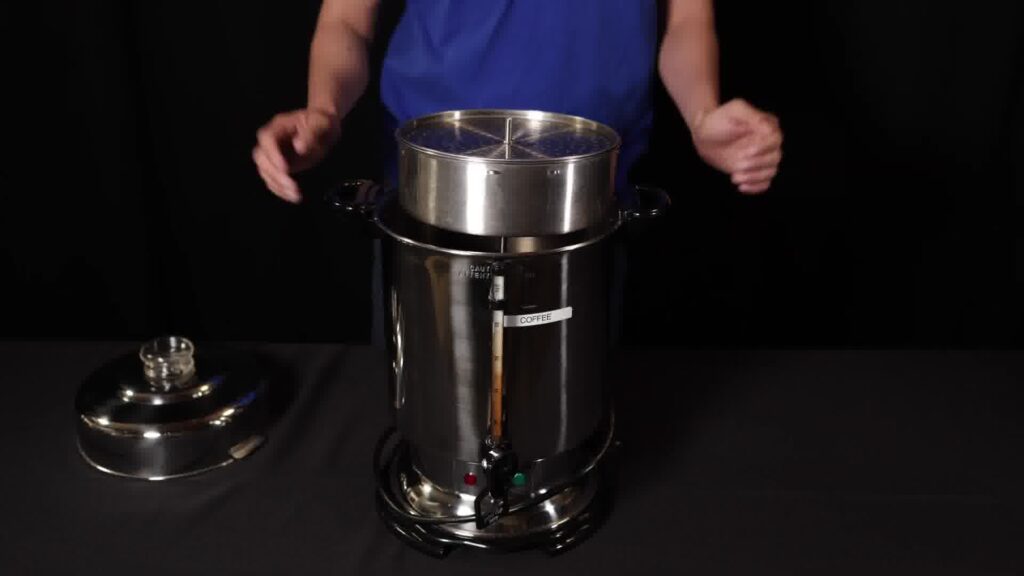
The filter basket sits inside the tube pump. Ensure it’s securely in place before adding coffee grounds.


how to use a coffee urn, how to use coffee urn, coffee urn instructions
When serving coffee from a coffee urn, it's important to ensure that the process is smooth and efficient. Consider arranging the coffee station with clear signage and providing cups, sugar, and cream in an organized manner. This helps guests easily access what they need without confusion.
Additionally, train your staff or volunteers on how to operate the urn and serve coffee properly. Encourage them to offer refills and check on guests' needs throughout the event, ensuring everyone enjoys their coffee experience to the fullest.
Proper cleaning and maintenance of your coffee urn after each use are crucial for its longevity and performance. After the event, allow the urn to cool completely before disassembling it for cleaning. Use warm, soapy water to clean the basket, tube, and basin, ensuring that no coffee residue remains.
Regular maintenance also includes checking the electrical components and ensuring that the urn is stored in a dry place. This not only enhances the lifespan of the equipment but also guarantees that it functions optimally for your next event.
Selecting the right coffee blend is essential for satisfying your guests' tastes. Consider offering a variety of coffee options, such as regular, decaf, and flavored blends, to cater to different preferences. High-quality coffee beans can significantly enhance the overall experience.
Additionally, consider the brewing ratio when using a coffee urn. A general guideline is to use one ounce of coffee for every two cups of water. Experimenting with different blends and ratios can help you find the perfect brew for your event.
Many users have common questions regarding coffee urns, such as how many cups can be brewed at once and the best way to store unused coffee. Addressing these FAQs can help potential customers feel more informed and confident in their rental decisions.
For example, a typical coffee urn can brew anywhere from 30 to 60 cups of coffee, making it ideal for large gatherings. It's also advisable to store any leftover coffee in an insulated container to maintain its temperature and flavor for a longer period.